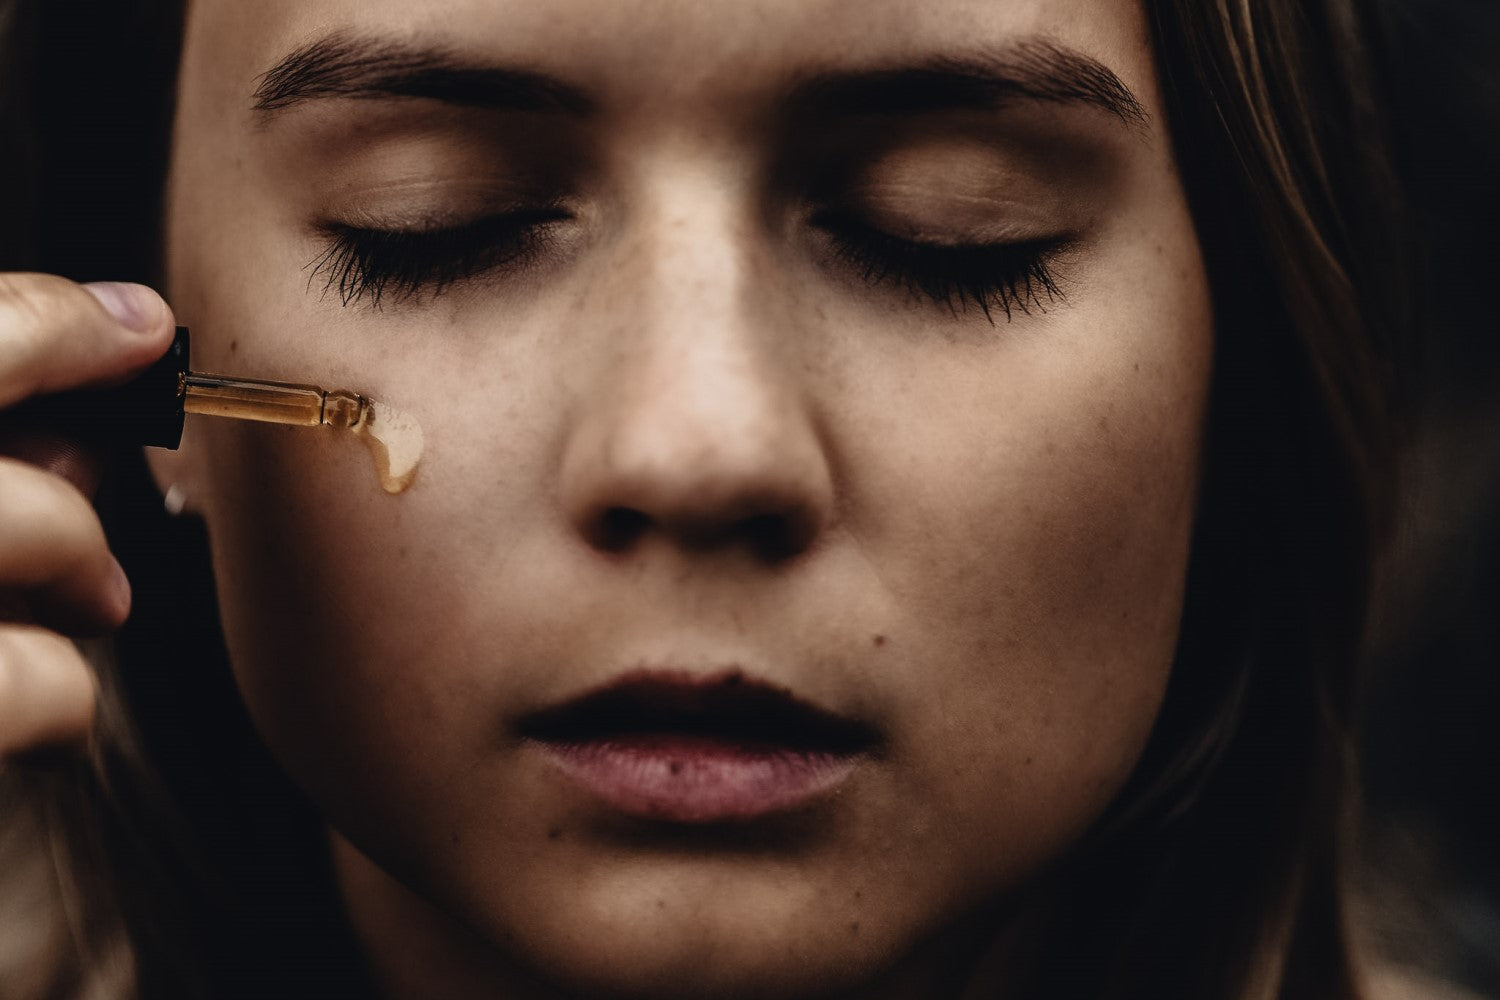
Make your own face oil with 6 secret steps

If it wasn’t for my desperation for dry skin relief whilst living in Morocco, I may have never discovered the benefits of using natural and pure plant oils on my skin. Nor may I have realised how simple and fun making your own skincare could be.

For millennia skincare was formulated at home, from natural and seasonal ingredients which kept our skin nourished, healthy and glowing. So, why did we stop? Find out in my recent blog ‘Rediscover Natural Skincare’.
Want to make your very own face oil at home? Continue reading to learn my 6 secret steps.
Secret 1: Carrier vs essential oils
To make your own face oil, you to need to first understand the two types of oils used:
1. Carrier Oils
Carrier oils come from the fatty portion of a plant – generally from the nuts and seeds they produce. These oils can be applied direct to the skin and make a great base for your face oil.
2. Essential Oils
Essential oils come from the leaves, flowers and stems of a plant and are much more concentrated and potent. This means they can’t be applied direct to the skin. Instead, essential oils need to be diluted into a carrier oil, which can safely “carry” them into the skin.
Secret 2: Oil extraction method and origin

As Mother Nature has spent millennia perfecting these plants to get the best from them, we need to ensure we use oils as close to their host plant as possible. This is why the oil extraction method is important.
For me, cold pressed carrier oils are the best as they’ve simply been squashed from their host nut or seed, with no unnecessary or unexpected chemicals used. This means these oils are in their rawest most beneficial form and as close to their host plant as possible.
In terms of essential oils, I only source steam distilled oils for much the same reason.
The origin of your oils is important too. Why? Because if the plants were farmed using a plethora of chemicals and pesticides, then it’s likely that traces of these chemicals will be present in the oils too.
Pro Tip: Obtain organic or wild harvested oils to avoid exposing yourself to toxic chemicals.
Secret 3: Research
Research is the key step to formulating your own skincare. So, when it comes to deciding which oils to use in your face oil, it’s important you do yours.

With thousands of ingredients, from thousands of plants used for centuries to treat different skin conditions, you’ve got your work out for you. It isn’t as difficult as it may sound though…
For me, coming from a finance background where researching was second nature, I found this task relatively easy. In fact, being the numbers loving Excel nerd that I am, I used an Excel spreadsheet to record the results of my research. I developed an extensive list of all the different plants oils known to be beneficial for the skin, and recorded each of their properties. I also recorded their recommended usage concentrations so I knew how much of any particular ingredient I should use at a time. I still update this list today with new ingredients I come across.
Discover the (not so secret) ingredients I love and use in my Oasis Black organic botanical oils here.
Pro Tip: It’s also good practice to record what each ingredient should look, smell and feel like. Not only is this important in planning your formula, but it will ensure you know exactly what you’re looking for when you get to the sourcing stage.
Secret 4: Formula planning
After you’ve done all the research you can handle, it’s time to decide which beneficial properties you want to bring to your face oil. Look through your list and pick out those that stand out to you. Price of the oils, availability and your budget will also play a part here.
Then, write up a bit of a formula using the recommended concentration ratios you’ve recorded.

Secret 5: Sourcing your ingredients
Now that you’ve got your formula, it’s time to source your ingredients.It’s unlikely you’ll be able to buy the exact measurements of the ingredients you want, so you’ll likely have to buy more than you need. Keep this in mind and try choosing ingredients that will last.
You’ll also need to think about their storage needs, so you can store them to last as long as possible.
Pro Tip: Source only cold pressed and steam distilled organic ingredients. If the bottle doesn’t mention these things then it’s likely to be highly processed and deodorised - this will affect the end result.

Secret 6: Development and testing
Now for the fun part – formula development and testing!
For this step, you’ll need an accurate measuring device, funnel and bottle to mix your creation.
Pro Tip: Glass is recommended as plant oils are powerful and can break down plastics and leach them into your creation, then your skin and body.
Measure and mix your oils to the recipe you developed in your research, then test it out on your skin. If it feels too greasy or oily, or doesn’t smell or sink in the way you’d hoped, then you’ll need to make some alterations and try another batch.

Keep repeating this process until you’ve settled on a version you love - it’ll be worth the wait!
Then, ta-da! Once you’ve settled on a formula you can record it and keep making it time and time again knowing exactly what you’re putting on your skin.
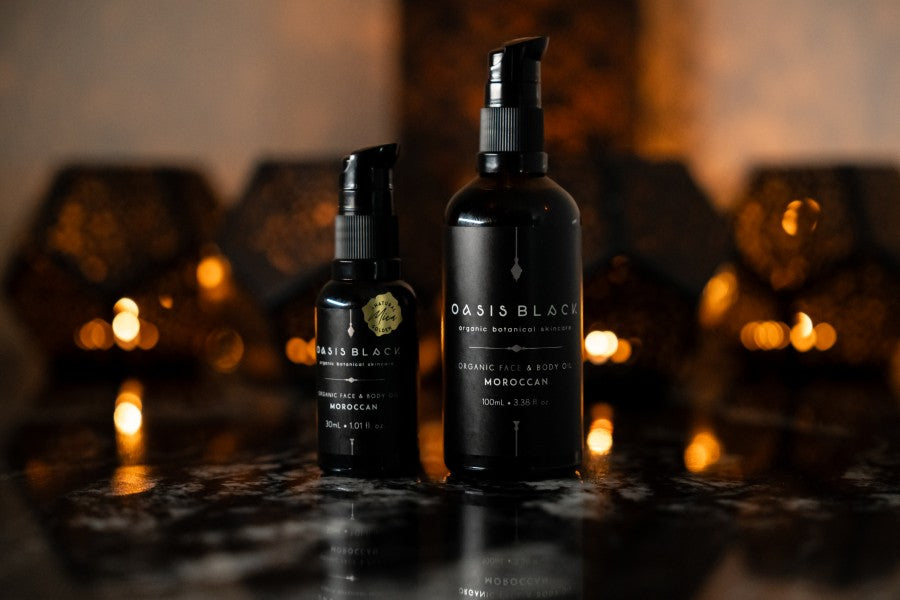
Oasis Black Organic Face & Body Oils – already created, just for you
Does this all sound too hard? Don’t have the time to research, source, formulate and trial your own concoctions to make your own face oil?
Lucky for you, I’ve already done all the hard work for you through years of research, development and testing of my Oasis Black Oils for the face and the body. Step right past these 6 secret steps and save your precious time, by simply purchasing a bottle of one of my Organic Face & Body Oils.
Still want to create your own oil, but maybe skip a secret step or two? My bottle of my Nude Organic Face & Body Oil is for you - a blend of some of the most luxurious and nourishing base/carrier oils. You can use this as your base, and then add your own essential oils to it to make it your own.
Discover the Oasis Black organic botanical skincare range today.


